
The Complete Guide to Tattoo Portfolio Photography
Your tattoo portfolio is your calling card in the industry. Whether you’re submitting to competitions, applying for guest spots, or building your social media presence, the quality of your portfolio photography can make or break your professional reputation.
Why Portfolio Photography Matters
First Impressions Count
In today’s digital world, your portfolio photos are often the first thing potential clients, shop owners, and competition judges see. High-quality photography demonstrates professionalism and attention to detail—qualities that translate to your tattoo work.
Competition Success
For tattoo competitions like the Pro Ink Awards, photography quality directly impacts judging. Clear, well-lit photos allow judges to properly evaluate line work, shading, color saturation, and overall composition. When selecting your best work for competitions, the quality of your portfolio photography becomes even more critical. Explore our global competitions directory to find opportunities to showcase your professionally photographed work.
Social Media Impact
Strong portfolio photos perform better on social media, leading to more engagement, followers, and potential clients. For artists building their tattoo business from apprentice to shop owner, strong social media presence is essential for growth.
Essential Photography Equipment
Camera Options
Smartphone Cameras Modern smartphones like the iPhone 14+ and Samsung Galaxy S23+ offer exceptional image quality that rivals dedicated cameras. The convenience of having a high-quality camera always available makes smartphones perfect for capturing spontaneous moments and quick social media content. However, they offer limited manual controls, which can be restrictive when you need precise control over exposure, focus, or depth of field.
DSLR/Mirrorless Cameras For serious portfolio work and competition submissions, DSLR and mirrorless cameras provide the gold standard in image quality and control. These professional-grade cameras offer full manual control over every aspect of the image, from aperture and shutter speed to ISO and white balance. The superior sensor technology and lens quality result in images with better detail, color accuracy, and low-light performance.
Point-and-Shoot Cameras Point-and-shoot cameras represent an excellent middle ground for artists who want better image quality than smartphones without the complexity and cost of DSLR systems. These compact cameras are highly portable and often feature larger sensors than smartphones, resulting in better image quality and more natural depth of field.
Essential Accessories
Lighting Equipment Proper lighting is the most critical factor in tattoo photography. Ring lights provide even, shadow-free illumination perfect for close-up tattoo shots, while softbox lights create diffused, professional lighting that mimics natural light conditions. LED panels offer consistent color temperature, and reflectors help eliminate harsh shadows.
Stabilization Stability is crucial for sharp, professional-looking tattoo photos. Tripods are essential for any serious portfolio photographer, while phone mounts provide a cost-effective way to achieve steady shots with smartphones. Remote triggers allow for hands-free operation, enabling perfect positioning while maintaining camera stability.
Background Materials The background should complement your work without distracting from it. Neutral colored backdrops, seamless paper rolls, and clean fabric backgrounds create professional, distraction-free environments that keep the focus on your tattoo work.
Lighting Techniques
Natural Light Photography
Natural light can provide beautiful, even illumination for tattoo photography when used correctly. The key is understanding how different lighting conditions affect your images and positioning your subject accordingly.
Best Conditions
- Golden hour (1 hour after sunrise, 1 hour before sunset)
- Overcast days for even, diffused light
- Position near large windows with sheer curtains
- Avoid harsh midday sun and direct sunlight on tattoos
Artificial Lighting Setup
Professional artificial lighting gives you complete control over your photography environment. By understanding different lighting setups, you can create consistent, high-quality images regardless of natural light conditions.
Basic Two-Light Setup
- Key Light: Main light source positioned at 45-degree angle
- Fill Light: Softer light to reduce shadows
- Background Light: Optional light to separate subject from background
Ring Light Setup Position directly in front of the tattoo, adjust intensity to avoid overexposure, and use a diffuser for softer light.
Softbox Lighting Creates even, diffused illumination, reduces harsh shadows, and provides professional studio-quality results.
Lighting Tips for Different Tattoo Types
Different tattoo styles require different lighting approaches to showcase their unique characteristics effectively. Understanding these variations helps you capture each type of work at its best.
- Black and Gray: Use slightly cooler light temperature, ensure even lighting to show shading detail
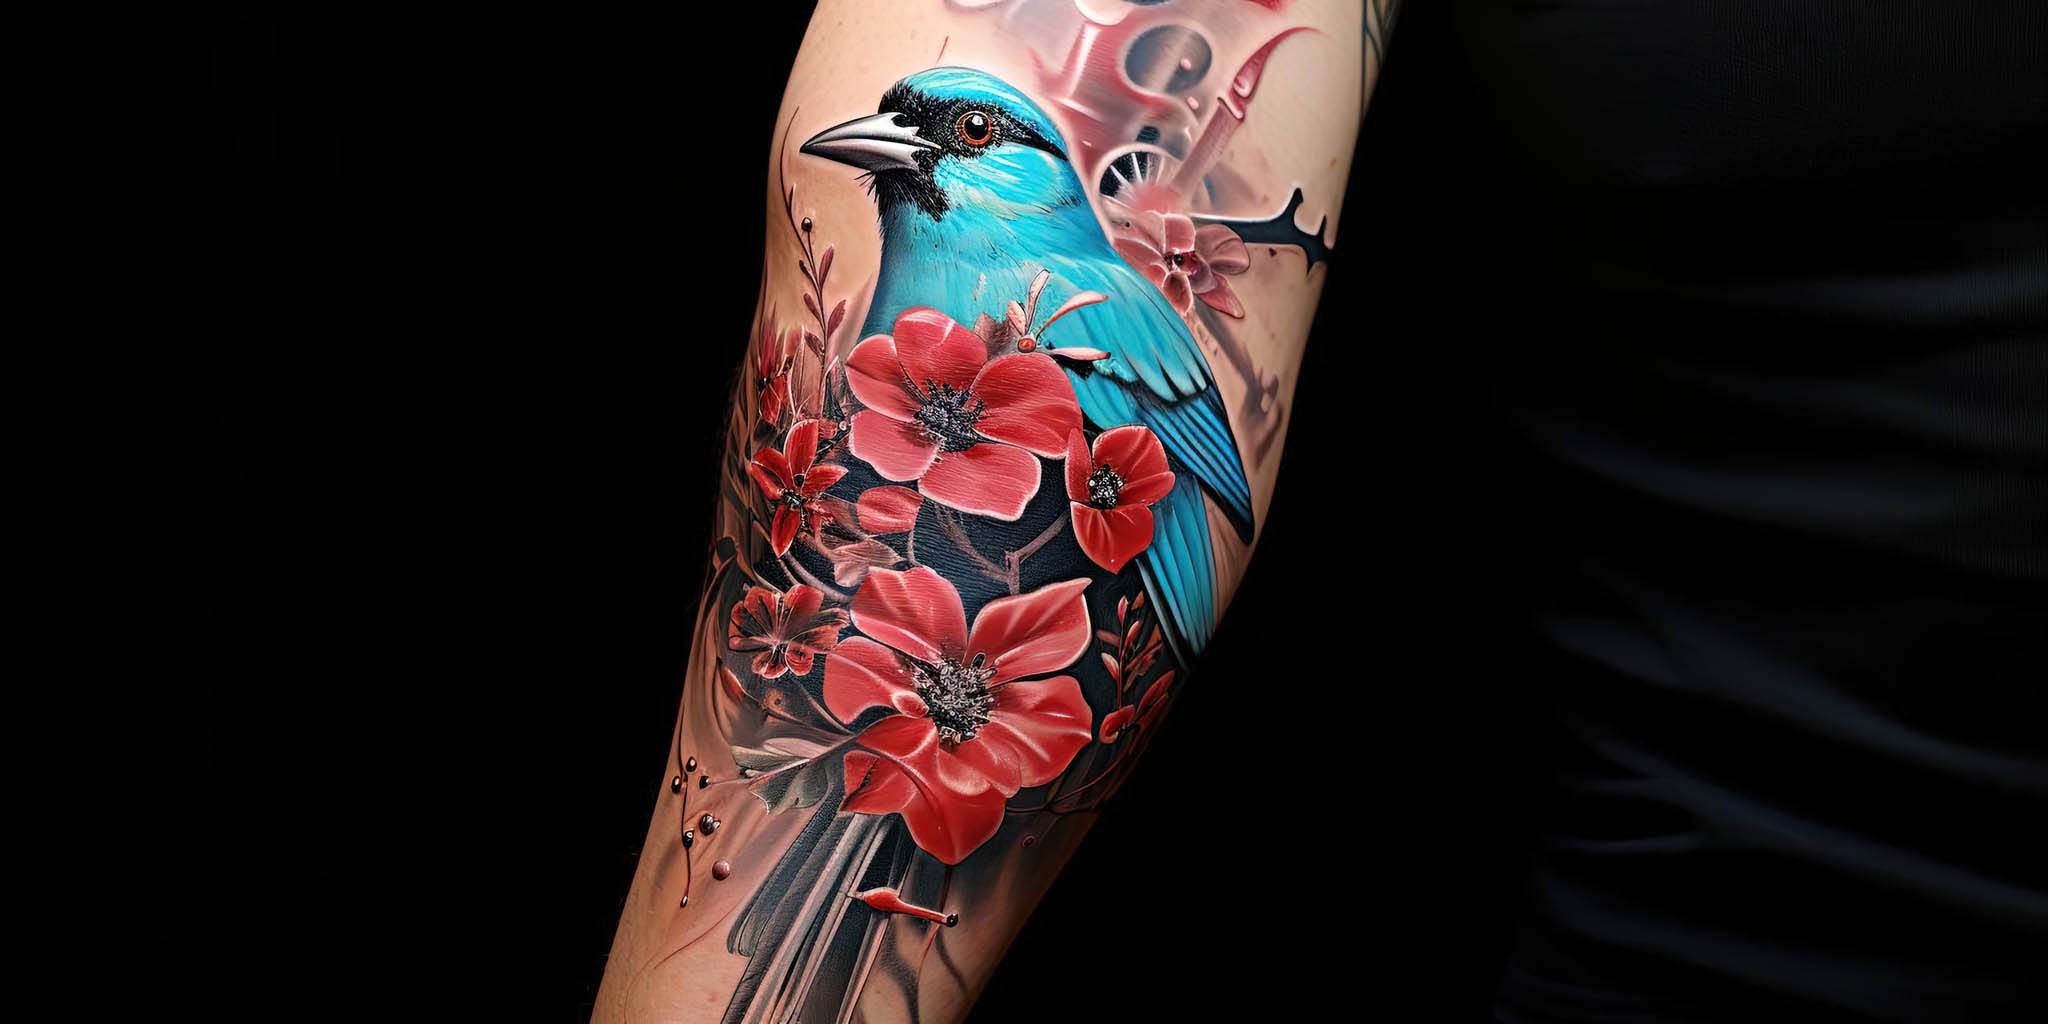
- Color Tattoos: Use daylight-balanced lighting (5500K-6500K), ensure accurate color reproduction
- Fine Line: Use bright, even lighting, ensure sharp focus on line work
Camera Settings and Techniques
Basic Camera Settings
Aperture (f-stop)
- f/2.8 to f/5.6 for shallow depth of field
- f/8 to f/11 for maximum sharpness
- f/16+ for maximum depth of field
Shutter Speed
- 1/125s or faster to avoid camera shake
- Use tripod for slower speeds
- Consider subject movement
ISO Settings
- ISO 100-400 for best image quality
- Higher ISO for low-light conditions
- Balance noise vs. exposure needs
Focus Techniques
Manual Focus
- Use for precise control
- Focus on the most important part of the tattoo
- Use focus peaking if available
Autofocus
- Single-point autofocus for precision
- Focus and recompose technique
- Use back-button focus for better control
Composition and Framing
Rule of Thirds
Position the tattoo or key elements along the imaginary lines that divide the frame into thirds, both horizontally and vertically. This creates more dynamic and visually appealing compositions.
Background Considerations
- Keep backgrounds simple and uncluttered
- Use neutral colors that don’t compete with the tattoo
- Consider the tattoo’s color palette when choosing backgrounds
- Ensure adequate separation between subject and background
Angle and Perspective
- Shoot straight-on for most portfolio shots
- Slight angles can add depth and dimension
- Consider the body part’s natural curves
- Avoid extreme angles that distort the tattoo
Post-Processing and Editing
Basic Editing Workflow
- Import and Organize: Transfer photos to computer and organize by date, client, or project
- Basic Adjustments: Adjust exposure, contrast, highlights, and shadows; correct color balance if needed
- Sharpening and Detail: Apply subtle sharpening, enhance texture and detail, avoid over-sharpening
- Final Output: Resize for intended use, apply appropriate compression, save in multiple formats
Professional Tools and Resources
For tattoo artists looking to streamline their business operations while maintaining high-quality portfolio standards, consider using professional portfolio builder tools to organize and showcase your best work.
Editing Software Options
- Lightroom: Professional workflow and organization
- Photoshop: Advanced editing capabilities
- Capture One: Professional color grading
- Free Options: GIMP, RawTherapee, Darktable
Common Photography Mistakes to Avoid
Technical Mistakes
- Poor Lighting: Harsh shadows, uneven illumination, or incorrect color temperature
- Camera Shake: Blurry images from hand-holding at slow shutter speeds
- Incorrect Focus: Focusing on wrong elements or using autofocus inappropriately
- Overexposure: Blown-out highlights that lose detail
Composition Mistakes
- Busy Backgrounds: Distracting elements that compete with the tattoo
- Poor Framing: Cutting off important parts of the tattoo or including too much empty space
- Inconsistent Angles: Mixing different perspectives in the same portfolio
- Color Casts: Unnatural color shifts from mixed lighting sources
Portfolio Organization and Presentation
Organizing Your Photos
- Create folders by date, client, or project
- Use consistent naming conventions
- Keep both edited and original files
- Maintain backup copies
Portfolio Categories
- By Style: Traditional, realism, black and gray, color work
- By Body Part: Arms, legs, back, chest, etc.
- By Technique: Line work, shading, color application
- By Complexity: Simple designs, detailed pieces, large-scale work
Presentation Tips
- Show your best work first
- Include variety in styles and techniques
- Provide context for each piece
- Keep the focus on the tattoo work
Conclusion
Mastering tattoo portfolio photography is an essential skill for any serious tattoo artist. By understanding the fundamentals of lighting, composition, and post-processing, you can create stunning images that accurately represent your artistic abilities and help you succeed in competitions, attract clients, and build your professional reputation.
Remember that great portfolio photography starts with great tattoo work. Focus on creating exceptional tattoos first, then use these photography techniques to showcase them at their absolute best. With practice and attention to detail, you’ll develop a portfolio that opens doors and creates opportunities throughout your career.